
What you'll need:
-Roll of 24' wide Chicken Wire
-150 + colored ornaments
-Roll of floral wire
-Star for top of tree
-3 strings of white Christmas lights
How we did it:
1. We went to Lowe's and bought a roll of chicken wire 24" wide. Then we went to Hobby Lobby (right now all ornaments are 50% off) and bought over 150 ornaments. It looked like a lot of ornaments in our cart, but you really do need a lot. We started out picking 5 main colors we liked and picked the biggest ornaments first. Using the same colors, we went down in size and got medium sized and small sized. We found a couple of glitter ones and random ones we threw into the mix.
2. We cut two strips of 62" long chicken wire. Then we tied them together, using floral wire. They overlapped a couple of inches, so it totaled to be about 44" wide. We finally had our art board ready to decorate.
3. Ornament time! This is tricky because if you try to bend the chicken wire, the ornaments will pop off. This really is a two or three (maybe even four) person job. Just like we bought the ornaments, we used the same procedure. We picked a color of large ornaments and spread them out evenly across the wire. Then picked the next color of the large ones. After we had evenly spread all the large ornaments, we did the exact same process with the medium sized ornaments by color. Finally, the smallest ones. After that, we randomly filled in with extra ornaments where it seemed needed. Below shows that we used the floral wire and tied each individual ornament to the chicken wire itself.


4. We had three strands of white Christmas lights and started at the top zig zagging one way. We used another strand zig zagging the opposite way. We used one more strand on the bottom of the tree, given the extra width. Lights were attached with floral wire as well.
5. The star on top is also compliments of Hobby Lobby.
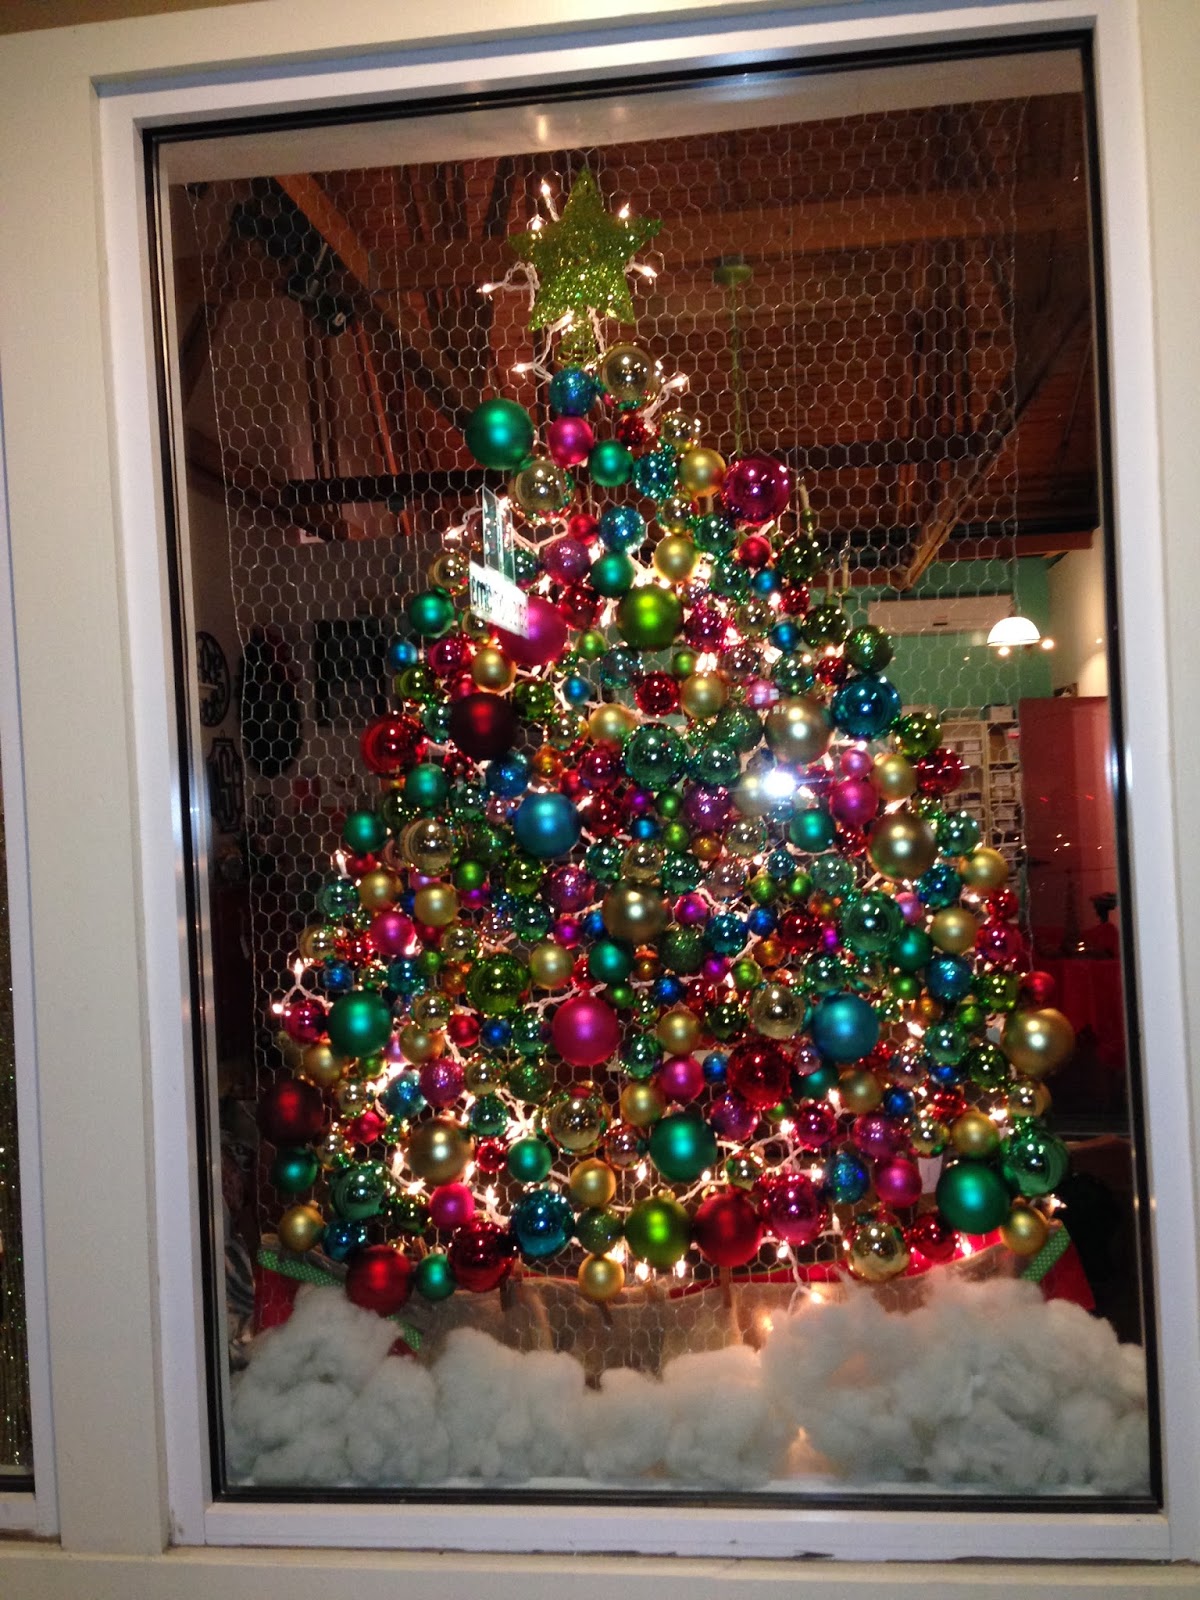
excuse the glare... view from the front of the store

back view from the inside of the store
Let us know if you have any questions! Good luck!
xoxo -- plainjane designs
No comments:
Post a Comment